How to Set Up a Public Webinar
Our Public Webinar events will setup without registration requirements to their watchpage link only.
Before continuing;
- It is not possible to capture name, email or any information at all. It's anonymous.
- Stats will be tracked by unique ip addresses of the attendees, as "Registered" or Registrants to the event only.
- You cannot use any marketing plugin for public webinars.
- All types of split test are disabled
- Call to Action and Prime insertion points are available to setup and will work.
Please note: Public Webinar Operation & Stats, reporting to the event work much differently than other event types. We recommend setting Public Webinars up from the New Webinar Button at Top Menu, not by duplicating or resetting at existing other webinar type events.
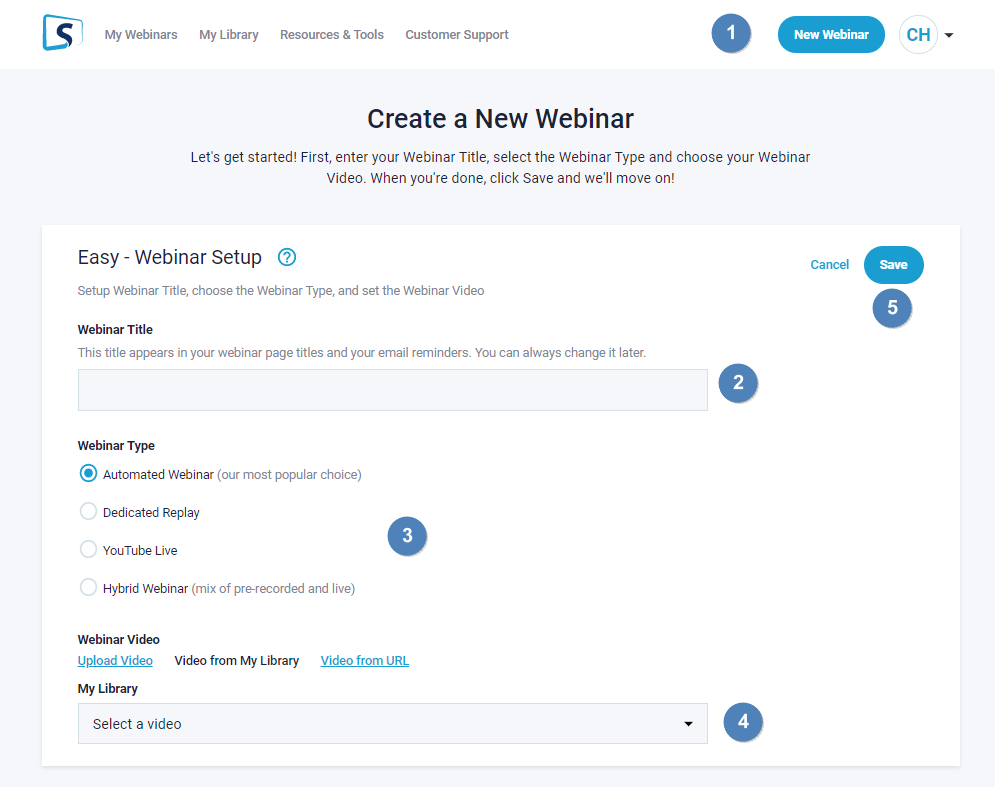
Click on the New Webinar button (1), and give your webinar a title (2), select the Webinar Type (Automated Webinar is the default choice) (3) select a webinar video (4), and then finally hit Save button (5).
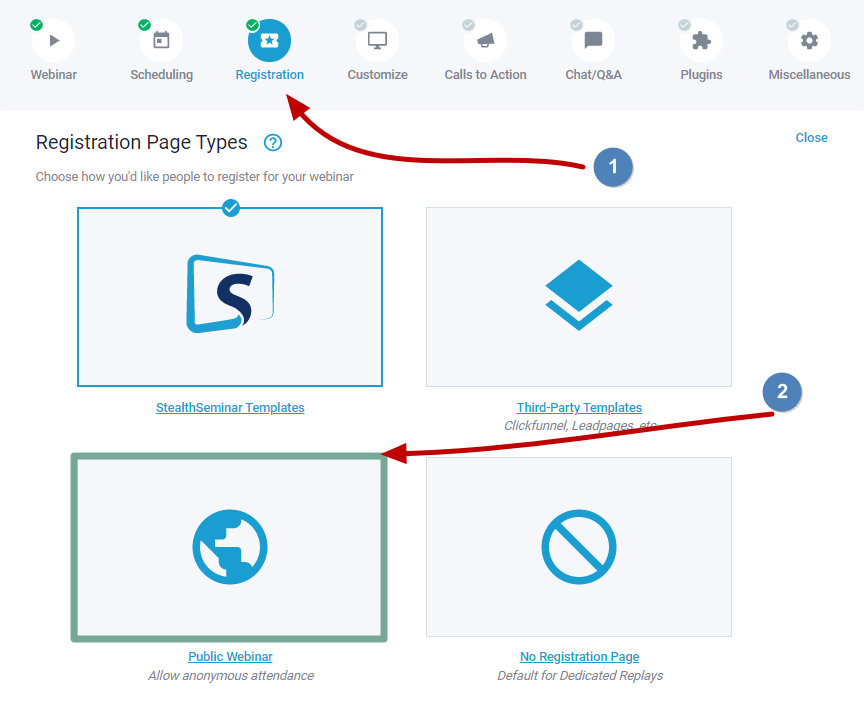
Then click on the Registration menu and then from Registration Page Types select Public Webinar
At this point all you have to do is, set up your schedules, and call to action if you use any. Your Public Webinar event is read for use in a default setup at its watchpage link provided.
Settings For Public Webinars
- Take to countdown on arrival
- Redirect to next instance of this webinar
Take to countdown on arrival
Once you set up the public webinar the above way, you will see this option in Registration > Registration Page Types
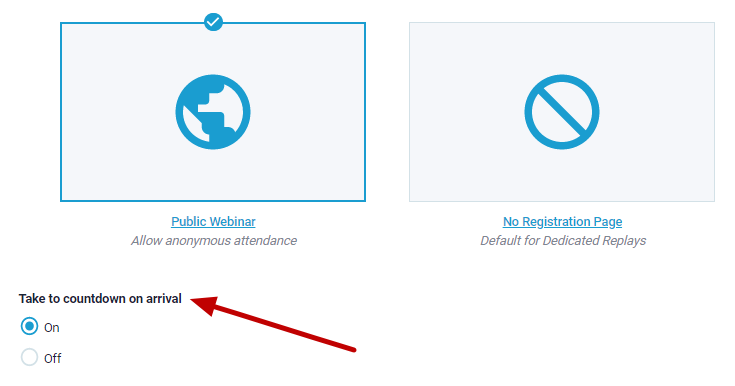
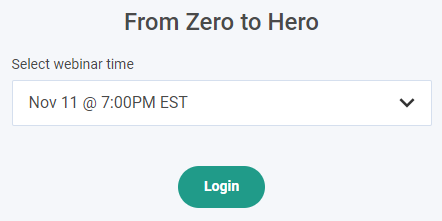
By default it will be turned on, this automatically takes a visitor to next webinar available i.e the countdown page. If it's turned OFF, then it shows a choice of next available date/time and a login button like this
Redirect to next instance of this webinar
If you go to Miscellaneous > Missed Webinar / Webinar Complete Redirect has this option. By default that is turned ON for public webinars.
Lets say you have set up the webinar to run everyday at 2pm Eastern. With this option enabled, after someone attends the webinar today, if they go back to the same link tomorrow, they will see the countdown for tomorrow's webinar.
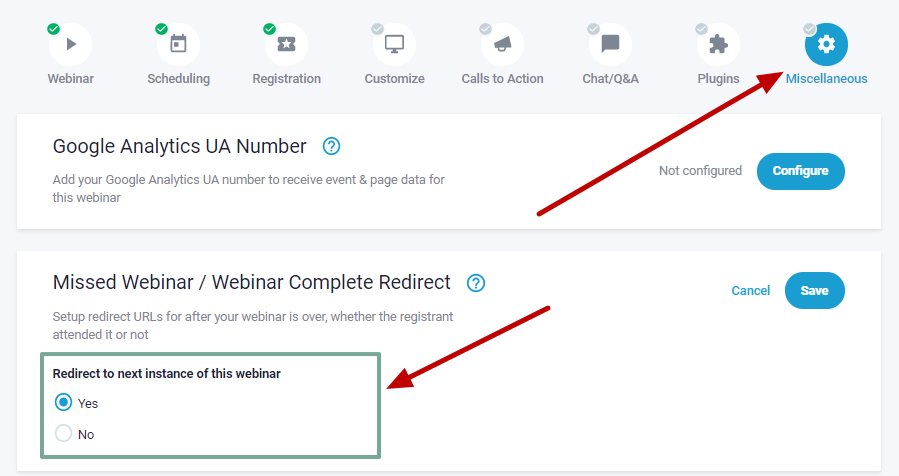
If you disable this option, you can set up the automatic redirect or keep the default Webinar Complete page.
Related Articles: