How to integrate with Leadpages
Get a free 30-day trial of StealthSeminar here.
Please note, we assume that you have already set up your event with everything e.g. call to action, autoresponder etc.
Also, you will not be able to see conversion rates in Leadpages. But you will be able to see all analytics on our stats.
To find the sample CSS that I used for this article, please see the Bonus Tips part at the end.
This is going to be a long read. But once you do it yourself, you will see how easy it is!
Go to your Leadpage page editor. Click on your page's button (add one if there isn't any), and click on "EDIT POP-UP".
Remove everything from your popup. Keep this page open like this.
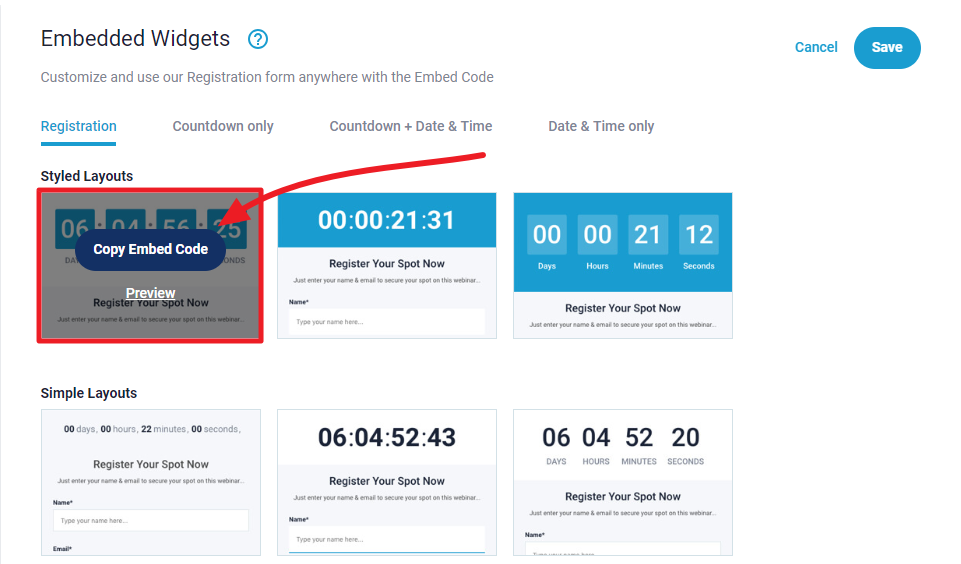
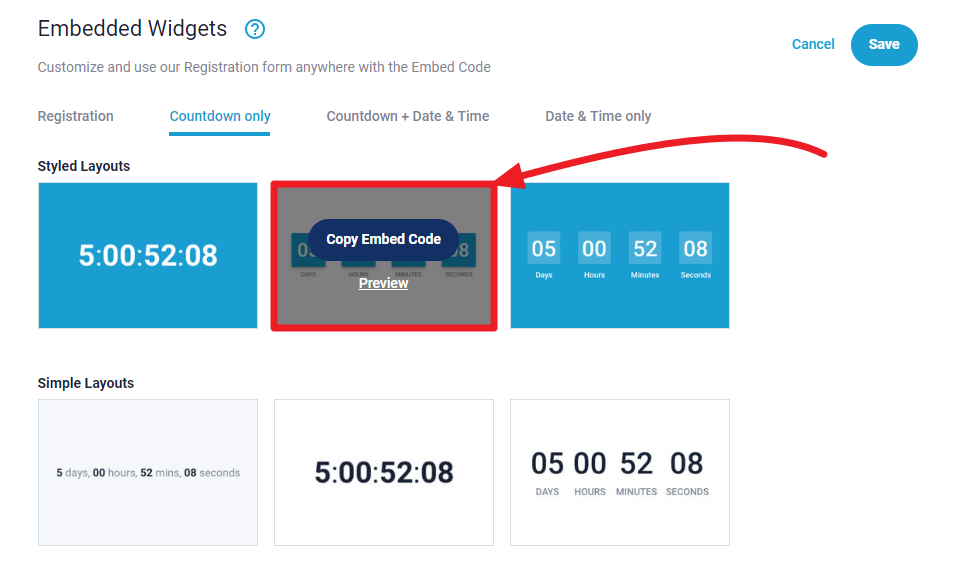
Now, go to your Stealth Seminar dashboard and find your "Embed Widgets".
Click on "Copy Embed Code" for the layout that you like.
Now, go back to the leadpage page editor. On the sidebar, click on "Pop-Up Widgets". From there, drag "HTML" and drop into the popup. Click on the "< >" icon and notice an editor will be shown just below.
Then paste the code that you just got. In the code, just find "max-width: 480px" and replace "480px" with "620px". Then hit "Save". Then click on the "Update"/"Publish" button on the top right. Then view your page and see if it looks okay. Make sure you do this for all the devices.
That's it! When people will register on your site, they will get all the notifications from our end, join your webinar on our end, and see calls to action, even autoresponders integrated on our end will work as well.
How to add webinar date/time and countdown:
As you can see my page has a date/time and timer section too.
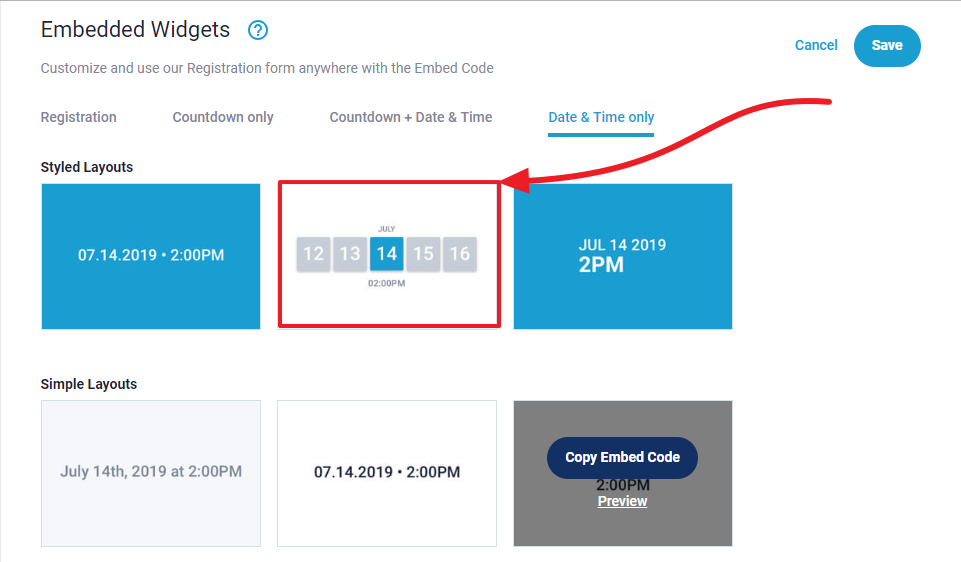
Add date/time
To make these dynamic, go back to your Stealth Seminar dashboard and grab the date time code that you like. You can choose any date time code that you want. I am going to use the second one. At the end of the article you will find the css for that widget so it looks better. It will also include the code for countdown timer.
Now, go back to the leadpage page editor. On the sidebar, click on "Pop-Up Widgets". From there, drag "HTML" and drop into the area where you want to show the date time. Click on the "< >" icon and notice an editor will be shown just below.
Then paste the code that you just got. In the code, just find "height: 400px" and replace "400px" with "170px". Then hit "Save". Then click on the "Update"/"Publish" button on the top right. Then view your page and see if it looks okay. You are done with adding the date time code.
Add Countdown
Go back to your Stealth Seminar dashboard and grab the countdown code that you like. You can choose any timer code that you want.
Now, go back to the leadpage page editor. On the sidebar, click on "Pop-Up Widgets". From there, drag "HTML" and drop into the area where you want to show the countdown timer. Click on the "< >" icon and notice an editor will be shown just below.
Then paste the code that you just got. In the code, just find "height: 400px" and replace "400px" with "100px". Then hit "Save". Then click on the "Update"/"Publish" button on the top right. Then view your page and see if it looks okay.
Your leadpage now should be ready!
Bonus tips
You may have noticed how the color of the calendar was blue, but on leadpages, it became green and the timer became black. I used custom css for making those changes. You can download it from here and add it to your embed code this way. One css file will take care of both the date/time and countdown code's visual changes.