How to integrate with the Thrive Architect (Wordpress)
You can now use our embed codes with any wordpress plugin/theme. Thrive Architect is an awesome wordpress plugin, which comes with built in templates that you can customize from your own wordpress site. This article may seem like a lot, but it is really easy once you do it yourself!
A video is required at minimum associated to the webinar event, in order to proceed through integration so be sure that is available. The sample CSS used in this article, is available from the Bonus Tip at the end.
Step1: Go to your wordpress site admin. "Dashboard" and to Pulldown for > "Thrive Lightboxes"
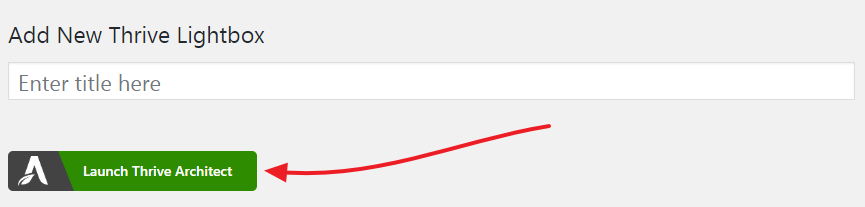
Select "Add New" (or if you have already created a lightbox and want to edit existing one, you can do so too). Enter your lightbox title and "Launch Thrive Architect" ( as shown below)
Step 2: In page builder, find "Custom HTML", and insert that into your page.
9An "Insert Custom HTML into the Page" popup will open up. Keep that window open.
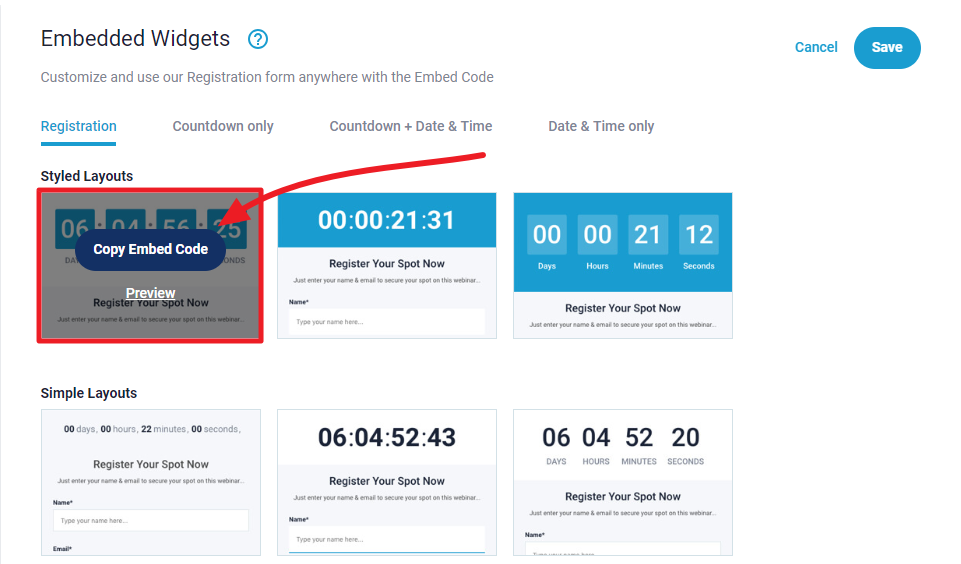
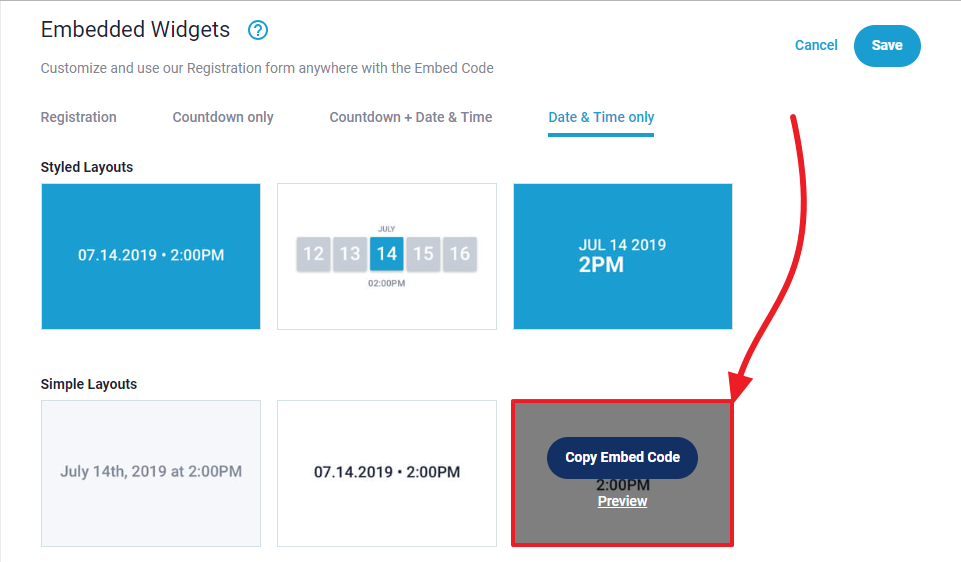
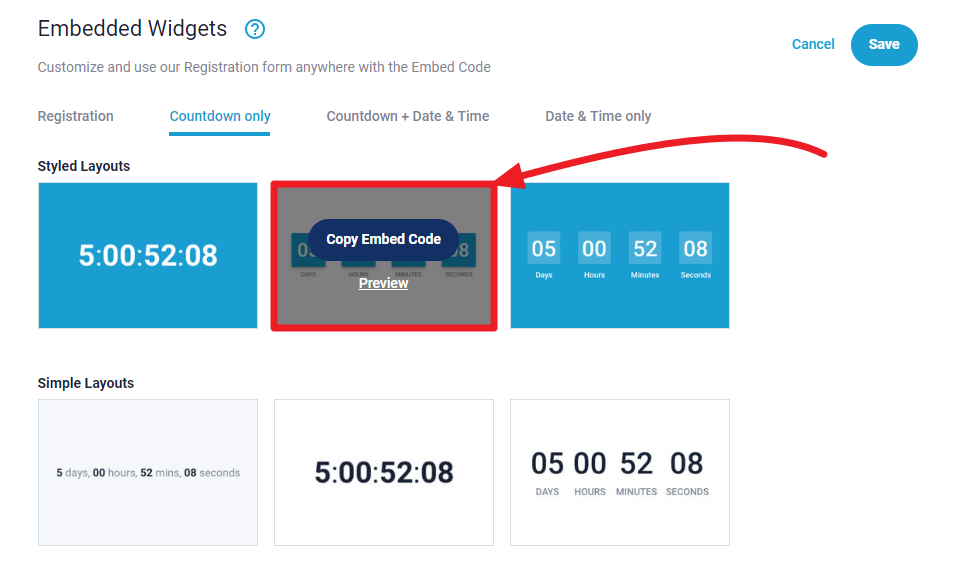
Step 3: From My Webinar's > Edit event dashboard here, find your Embeded Widgets in Miscellaneous section. Click on "Copy Embed Code" for the layout that you like.
Step 4: Paste code to your wordpress site's page builder (that we left open)
Within the code (to size), find "max-width: 480px" and replace "480px" with "620px". Then hit save.
Once complete be sure to "SAVE". Publish in wordpress is required, otherwise you will not find it to use it in the landing page builder later on.
Step 5: Now that you lightbox is complete, you will Add this to your page in Page Editor.
Go to your landing page editor with "Thrive Architect", and then click on the button on your page (if there is no button, please create one), and on the sidebar, click on "Animation & Action".
"Add New" > Click on "Popup" - (3) options will appear
Open Thrive Lightbox
Open Image
Open video

Choose "Open Thirve Lightbox" & Select the one you just created.
Hit "Apply". Do the same for the other buttons you have on your page as well. Then hit "SAVE".
If your page is published, go to your page and it will look something like this. If so, you are done! When people will register on your site, they will get all the notifications from our end, join your webinar on our end, and see calls to action, even autoresponders integrated on our end will work as well.
Step 6: (optional) webinar date/time & Countdown:
In the example page used here, a date/time and timer section too.
Add date/time
To make these dynamic, go back to your Stealth Seminar dashboard and grab the date time code that you like. You can choose any date time code that you want.
Now, go back to your page editor in wordpress and add a "Custom HTML" element to your date time area. Before you save your code replace the "height: 400px;" with "height: 100px;" and then hit "SAVE". Once you are done, it should look like this.
Do not forget to save your page!
Add Countdown
Go back to your Stealth Seminar dashboard and grab the countdown code that you like. You can choose any timer code that you want.
Now, go back to your page editor in wordpress and add a "Custom HTML" element to your countdown area. Before you save your code replace the "height: 400px;" with "height: 200px;" and then hit "SAVE". Once you are done, it should look like this.
Make sure you save your page and then visit it from all the devices!
Bonus tips
Did you notice how my timer looked exactly like the thrive plugin's timer? I used custom css for my countdown. You can download it from here and add it to your countdown this way.