How to integrate with clickfunnels
Described in detail at your page Editor in Clickfunnles below,
Note:
A video is required to be associated to the webinar event, you will not be able to see conversion rates in clickfunnels, analytics wil become available at our stats.
The sample CSS used in this article, is available from the Bonus Tip at the end.
Step1: Click on "POPUP" > "SHOW POPUP" at your Clickfunnels page, it will show clickfunnels' built in content. Remove all the elements that you see there.

Step 2: Click on the "+" icon to > add "Row Element"
Select "1 COLUMN" from the sidebar.
Click on "+" icon again to add "New Element"
From the sidebar, select "Custom JS/HTML", and drop it on the popup.
Click on the "CUSTOM JAVASCRIPT/HTML" button.
Click on "OPEN CODE EDITOR".
Keep that window open as a separate tab at your web browser.
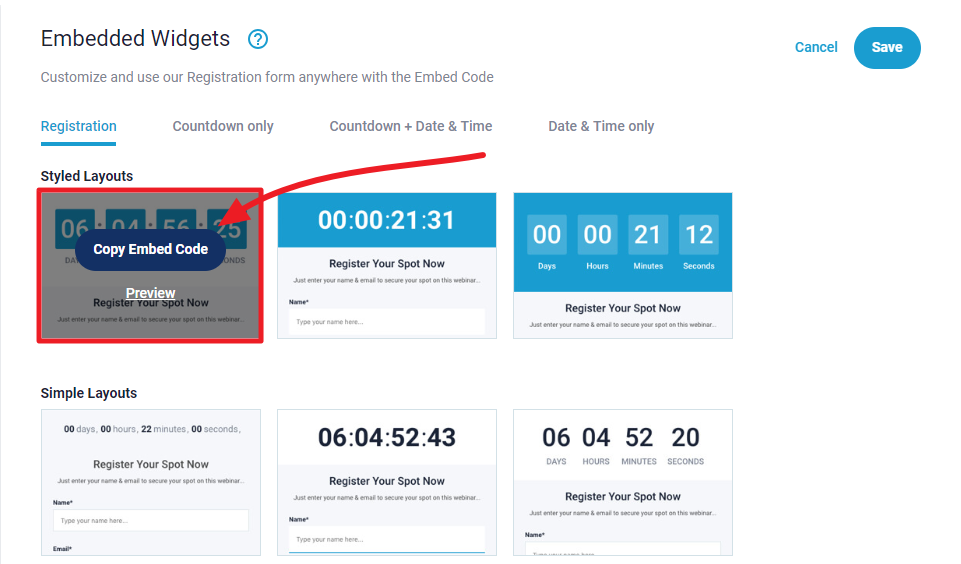
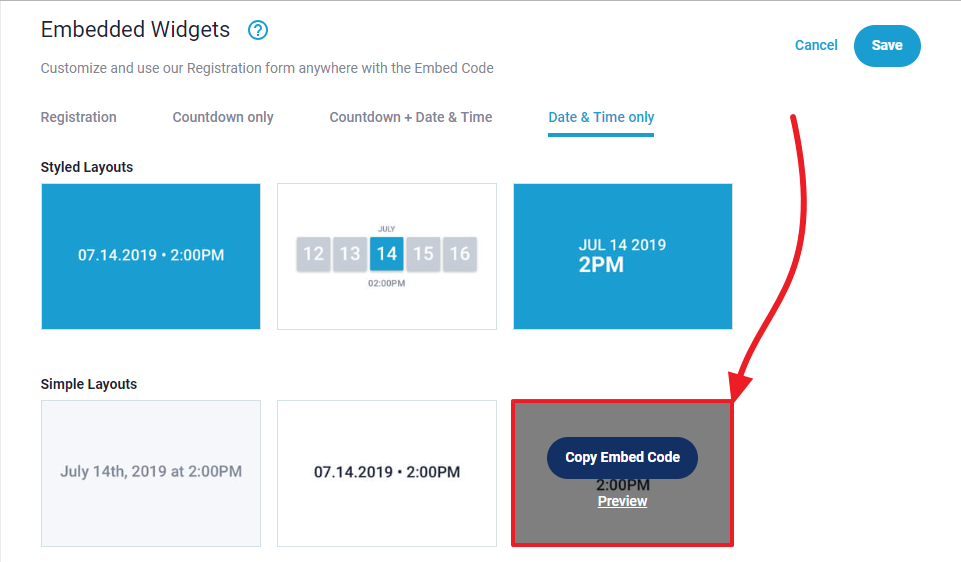
Step 3: At My Webinars when editing the specific webinar event here, find your "Embedded Widgets" in Miscellaneous section. Click on "Copy Embed Code" for the layout that you like.
Then paste it here (back to your clickfunnel's page builder that we left open) as you got it.
Step 4: To size the code to your page, find "max-width: 480px" and replace "480px" with "600px".
Then hit "X" (the close button). Then hit "SAVE" and "PREVIEW" to see how it looks like for you.
That's it! When people will register on your site, they will get all the notifications from our end, join your webinar on our end, and see calls to action, even autoresponders integrated on our end will work as well
Step 5: (optional) webinar date/time & Countdown:
As you can see my page has a date/time and timer section too.
Add date/time
To make these dynamic, go back to your Stealth Seminar dashboard and grab the date time code that you like. You can choose any date time code that you want. I am going to use the last one, at the end of the article you will find the css for that widget to make the text white. It will also include the code for countdown timer.
Now go back to your clickfunnel's page builder that we left open. Click on "ELEMENTS" > "ADD ELEMENT" and from sidebar, drag "Custom JS/HTML" and drop it into your page where you want to show the time.
Click on the "CUSTOM JAVASCRIPT/HTML" button.
Click on "OPEN CODE EDITOR".
Put the code as you got it. Then in the code, just find "height: 400px" and replace "400px" with "100px". Then hit "X" (the close button). Then hit "SAVE" and "PREVIEW" to see how it looks like for you. You are done with adding the date time code.
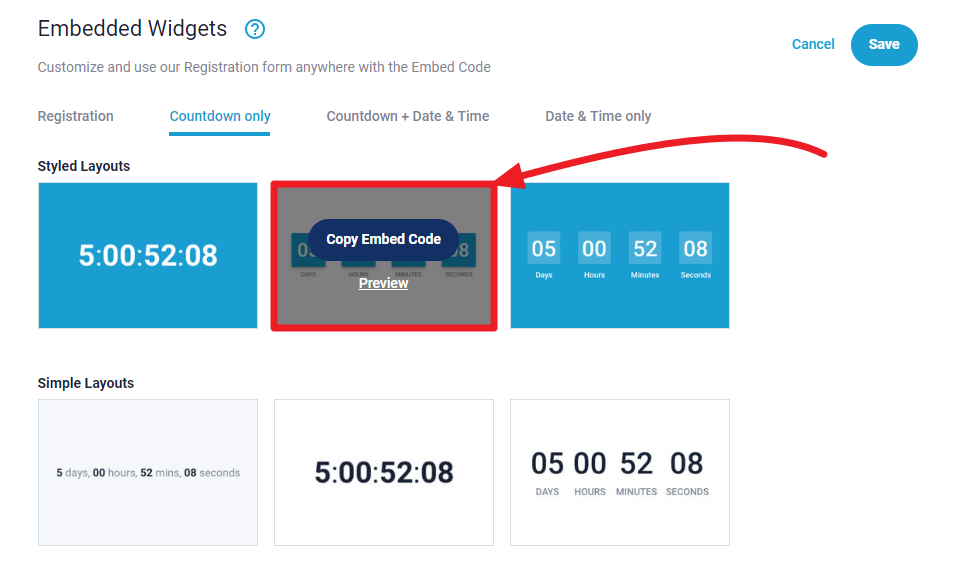
Add Countdown
Go back to your Stealth Seminar dashboard and grab the countdown code that you like. You can choose any timer code that you want.
Now go back to your clickfunnel's page builder that we left open. Click on "ELEMENTS" > "ADD ELEMENT" and from sidebar, drag "Custom JS/HTML" and drop it into your page where you want to show the countdown timer.
Click on the "CUSTOM JAVASCRIPT/HTML" button.
Click on "OPEN CODE EDITOR".
Put the code as you got it. Then in the code, just find "height: 400px" and replace "400px" with "70px" Then hit "X" (the close button). Then hit "SAVE" and "PREVIEW" to see how it looks like for you. You are done with adding the countdown code.
Your clickfunnels page is ready!
Bonus tips
By default, our date/time code's font color is black, and the countdown timer is a bit bigger and not in circle shaped like you saw in my example. I used custom css for making those changes. You can download it from here and add it to your embed code this way. One css file will take care of both the date/time and countdown code's visual changes.